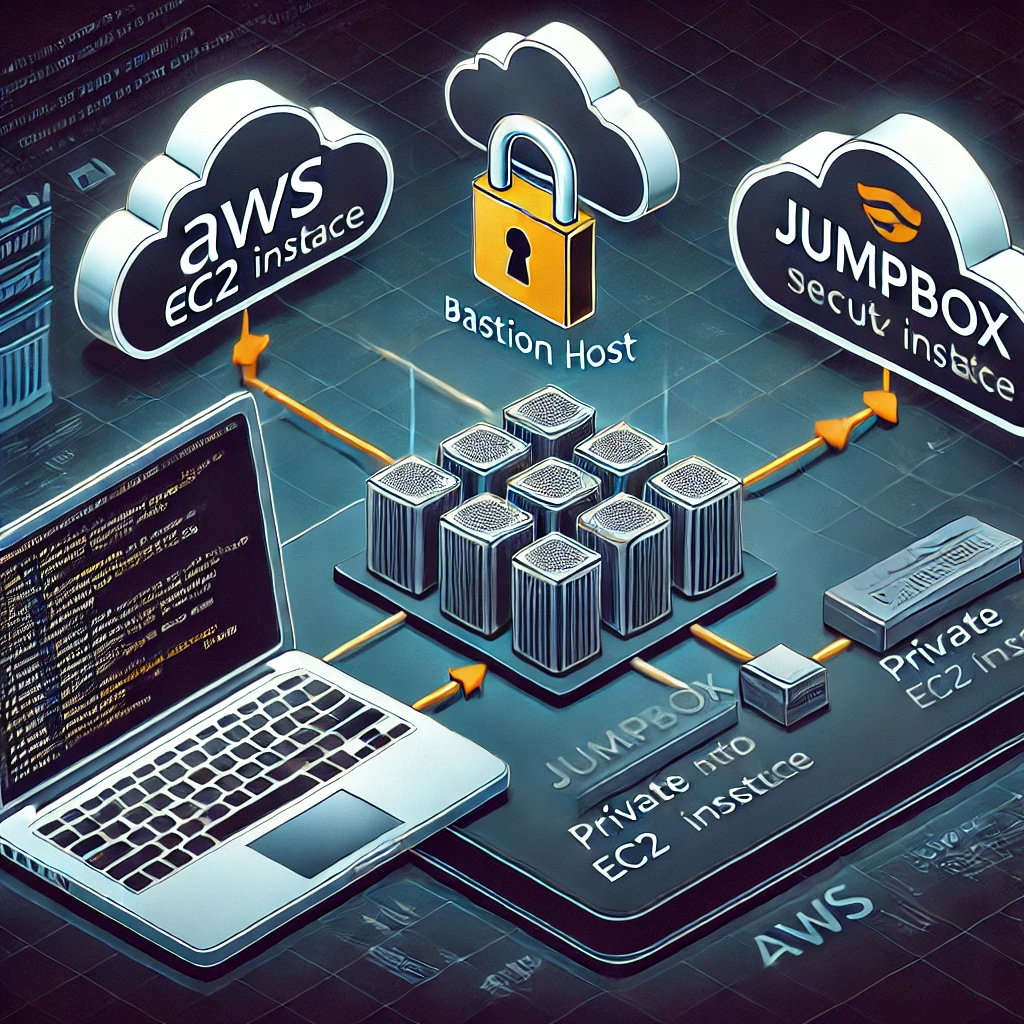
What’s a Jumpbox?
A jumpbox (aka bastion host) is a secure server designed to act as a gateway for accessing resources in a private network. Think of it as your golden bridge—without it, you wouldn’t reach the other side.
Key Features of a Jumpbox:
- Enhanced Security: It limits SSH or RDP access to a single entry point, reducing your attack surface.
- Access Control: Only authorized users can connect, often via specific IP whitelisting or VPN.
- Auditing: All actions passing through the jumpbox can be logged for accountability.
In AWS, jumpboxes are typically EC2 instances with tight security group rules that allow inbound connections from your IP and outbound connections to resources like RDS instances.
Setting Up and Using a Jumpbox
Here’s how to set up and use a jumpbox to back up a database running on RDS and securely upload it to S3.
1. Connect to Your Jumpbox
First, log into your AWS Management Console, and ensure the security group of your jumpbox allows SSH access from your IP. Open a terminal and connect:
ssh -i <YOUR_KEY_PAIR>.pem ec2-user@<JUMPBOX_IP>
Replace <YOUR_KEY_PAIR> with your PEM file and <JUMPBOX_IP> with the public IP of your jumpbox.
2. Back Up the RDS Database
Once connected, we’ll create a backup of the RDS database using mysqldump.
Run the following command on the jumpbox:
mysqldump --max_allowed_packet=10M \
    -h <YOUR_CLUSTER_URL>.rds.amazonaws.com \
    -u <YOUR_USER> \
    -p <YOUR_PASSWORD> > <YOUR_DB>.sql
What’s Happening Here?
--max_allowed_packet=10M: Ensures larger data chunks can be dumped without errors.-h: Points to your RDS endpoint.-uand-p: Authenticate using your RDS username and password.> <YOUR_DB>.sql: Redirects the output to a local SQL file.
Once completed, you’ll have a shiny new <YOUR_DB>.sql file sitting on your jumpbox.
3. Compress the Backup
Next, compress the SQL file to save storage and upload time. Use 7za for maximum compression and encryption:
7za a <YOUR_DB>.7z <YOUR_DB>.sql -mx9 -mhe=on -t7z
-mx9: Maximum compression.-mhe=on: Encrypts file headers for extra security.-t7z: Specifies the archive format.
Your compressed file, <YOUR_DB>.7z, is now ready for action.
4. Set AWS Credentials on the Jumpbox
To interact with S3, set up your AWS credentials. Export them as environment variables:
export AWS_ACCESS_KEY_ID=<YOUR_ACCESS_KEY_ID>
export AWS_SECRET_ACCESS_KEY=<YOUR_SECRET_ACCESS_KEY>
export AWS_SESSION_TOKEN=<YOUR_SESSION_TOKEN> # Optional for temporary credentials
5. Upload to S3
Finally, upload the backup to your S3 bucket:
aws s3 cp <YOUR_DB>.7z s3://<YOUR_BUCKET>/database/<YOUR_DB>.7z
This command securely transfers the compressed backup to S3, where it can rest safely.
6. Clean Up
To maintain a clean jumpbox environment, delete the compressed file:
rm <YOUR_DB>.7z
Wrapping It Up
By now, you’ve:
- Connected to your jumpbox.
- Dumped your RDS database.
- Compressed and encrypted the backup.
- Uploaded it to S3.
- Cleaned up your jumpbox like a responsible admin.
Jumpboxes are not just security powerhouses; they’re indispensable tools for secure access and resource management in AWS. Whether you’re backing up databases or managing private instances, mastering the jumpbox is a skill that will keep your infrastructure lean, secure, and accessible.
